9 Using Posit Cloud
Note: RStudio recently changed to Posit, so Posit Cloud (formerly RStudio Cloud) looks different from the images we show below. However, the concepts and general orientation are fairly similar.
Are technical issues with your computer preventing you from completing the pre-workshop tasks or doing the workshop sessions? A last-ditch solution may be to use the Posit Cloud platform to do the workshop. What is it?
Posit Cloud is a cloud computing service hosted by Posit (formerly called RStudio). It runs allows you to run the RStudio app in your web browser with full functionality, including built-in integration of R Projects and Git. It looks slightly different from a local RStudio session, and it treats R Projects and Git a little different, but the overall R user experience is virtually identical. For what we need in this workshop, we are fine with their free service, which only requires a little work to register and set up.
9.1 Setting up Posit Cloud
Register a free account: Go to the Posit Cloud website and complete the sign-up process for a free account.
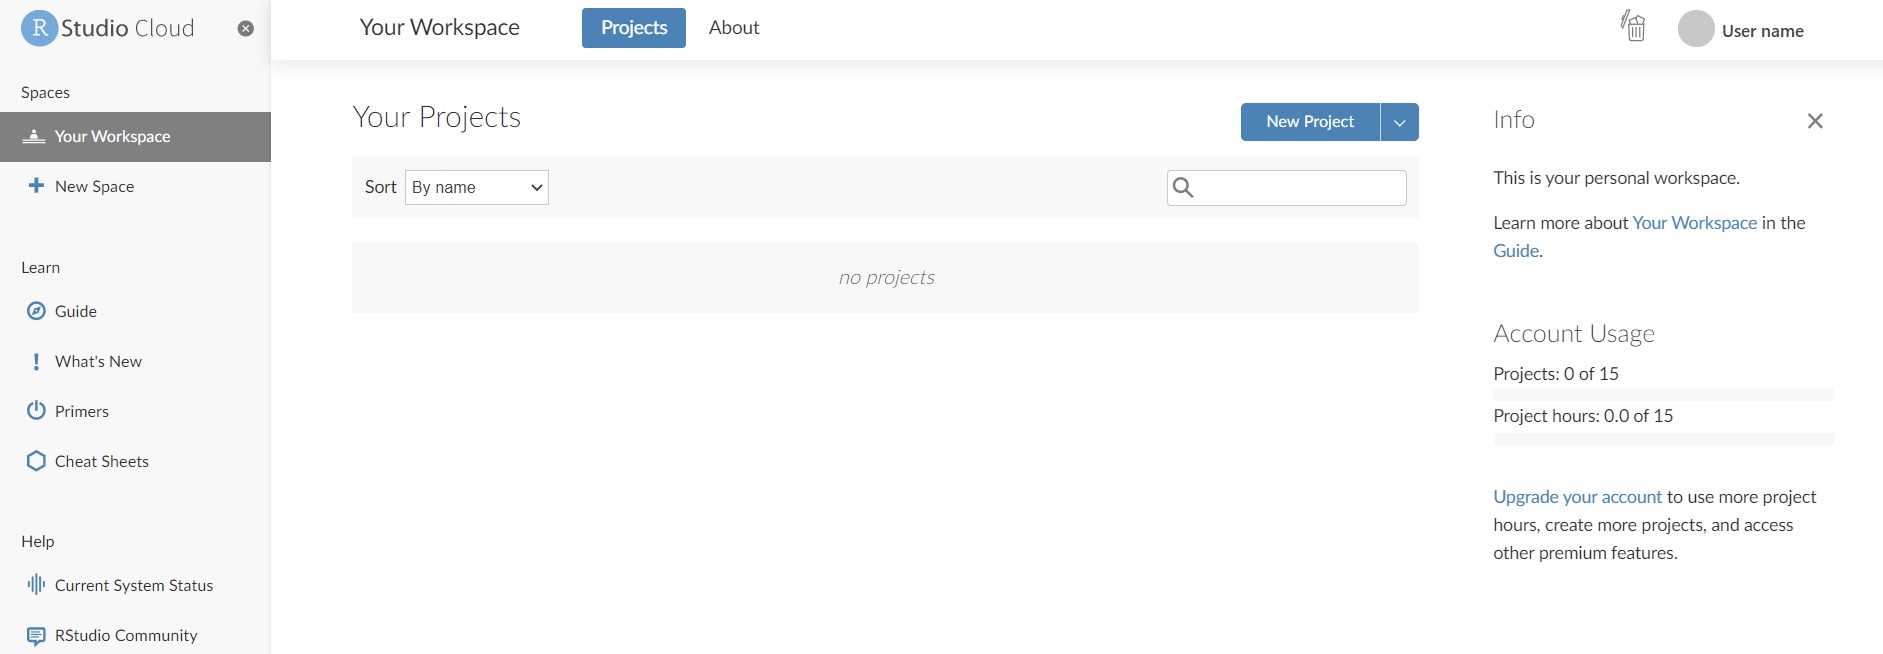
Log in to the account. After logging in, we start on the “Personal Workspace” page. Here we can create new R Projects (which we’ll do next), set up additional workspaces (which we don’t need for this workshop) or read the R guides and cheatsheets available in the “Learn” section of the menu panel (we can explore those after the workshop, there’s a lot of good content):
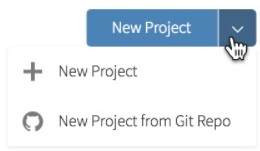
Start a new R Project: Click the “New Project” button. To practice using it, click the right half of the button and you get the option to create a project by cloning a GitHub repository (more on that later):
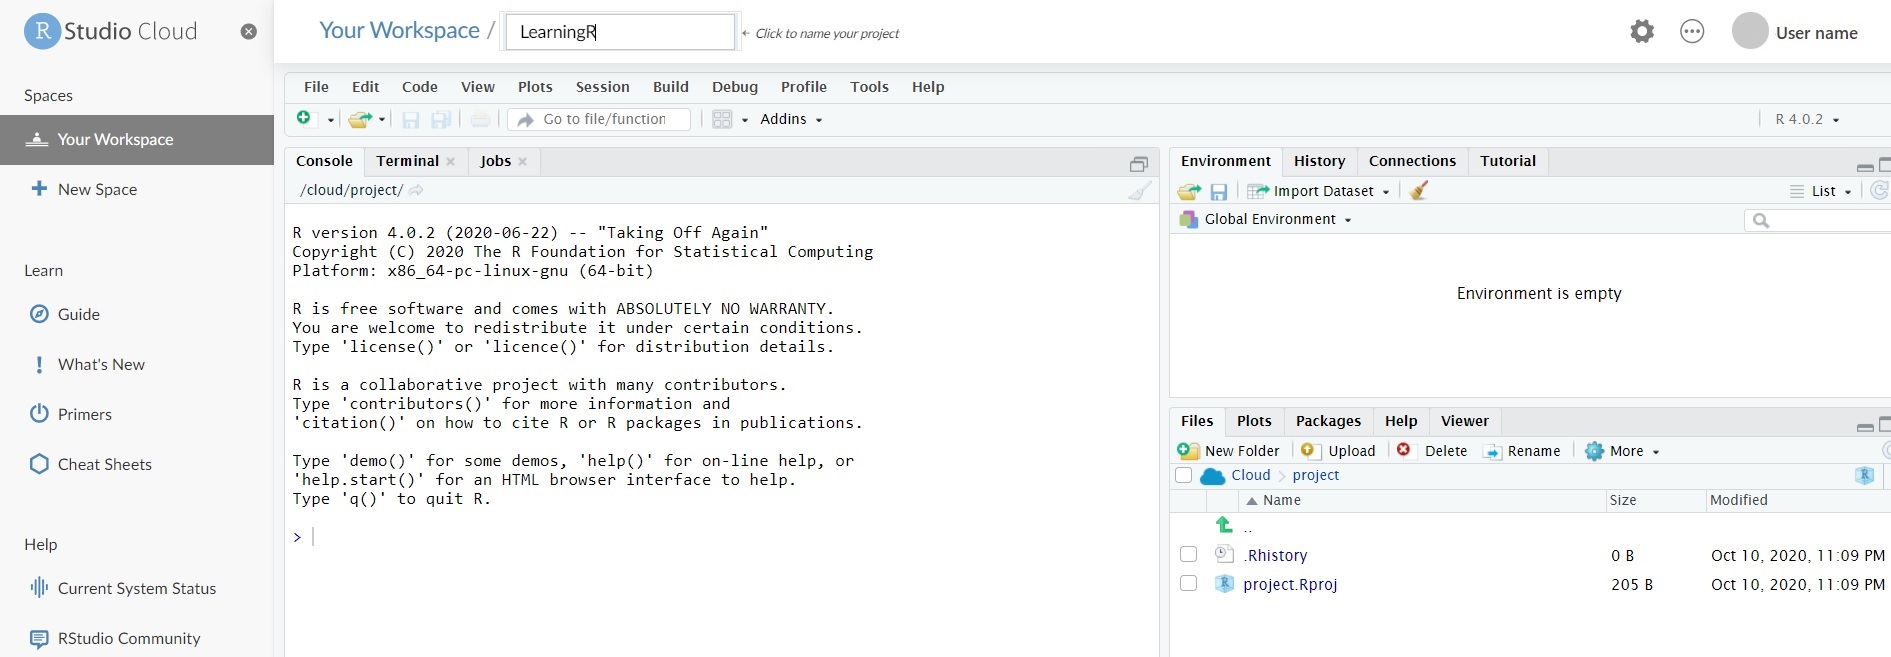
We’ll start a new project from scratch by clicking the button. Don’t forget to click the top panel after the project has been created to rename it to something sensible. Great! Now we’ve set up an R Project:
Before we get ahead of ourselves, however, we’ll tune the cloud computing settings for the project to get more monthly run-time out of our free account.
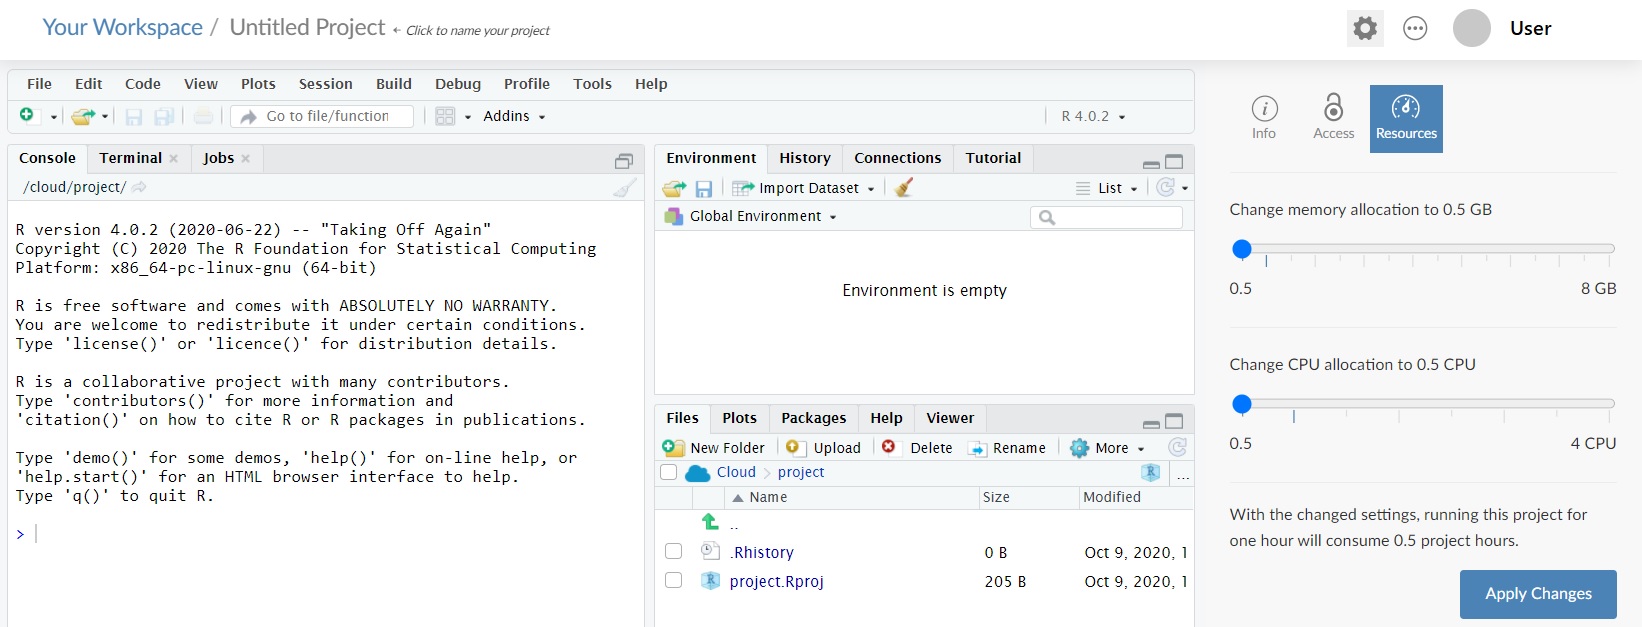
Throttle CPU and memory usage down: For this workshop, we don’t need a lot of computer power, so we can get by with just the minimum memory and CPU settings. With these settings, we get 30 hours of run-time per month, which should be plenty for this workshop. To do so, click the gear-icon in the top right of the screen, then the “Resources” tab, toggle both sliders to the far left, and click “Apply Changes”:
If you end up requiring more memory or CPU power, you can always turn these settings up later. Cloud run-time is only accumulated while your project is active, so if you find yourself running low on run-time, make sure to exit your project when you’re not actively coding.
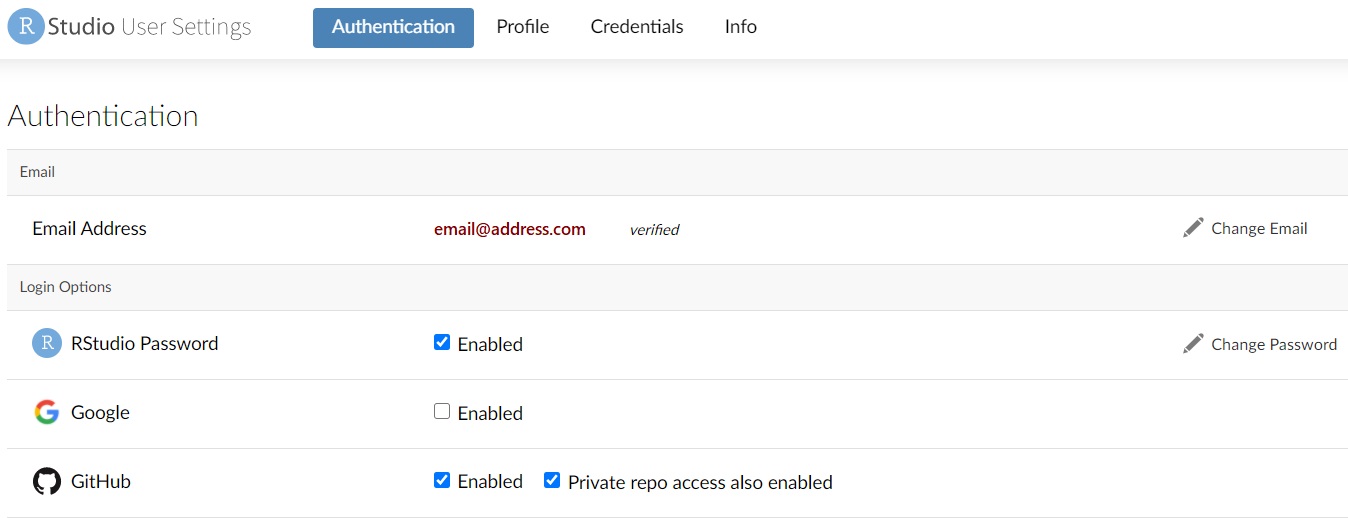
Set up access to GitHub: Finally, we need to allow access to private GitHub repositories, which we’ll be using in this workshop. Click on your user name in the top-right corner, and then the “Authentication” tab. This will take us to the authentication options, where we tick both boxes at the bottom for enabling GitHub, including the one labeled “Private repo access also enabled”:
Setting up Git on Posit Cloud projects: Git cannot be set up inside the project using packages, so prodigenr and usethis::use_git() will not work. However, it can easily be done through the RStudio menu interface: Tools -> Version Control -> Project Setup -> Version Control System: Git
Now you’re good to go! You should have no issues completing the pre-workshop tasks and have a workshop experience similar to those using a local installation.
There are just a few more differences between local and Posit Cloud sessions to be aware of:
-
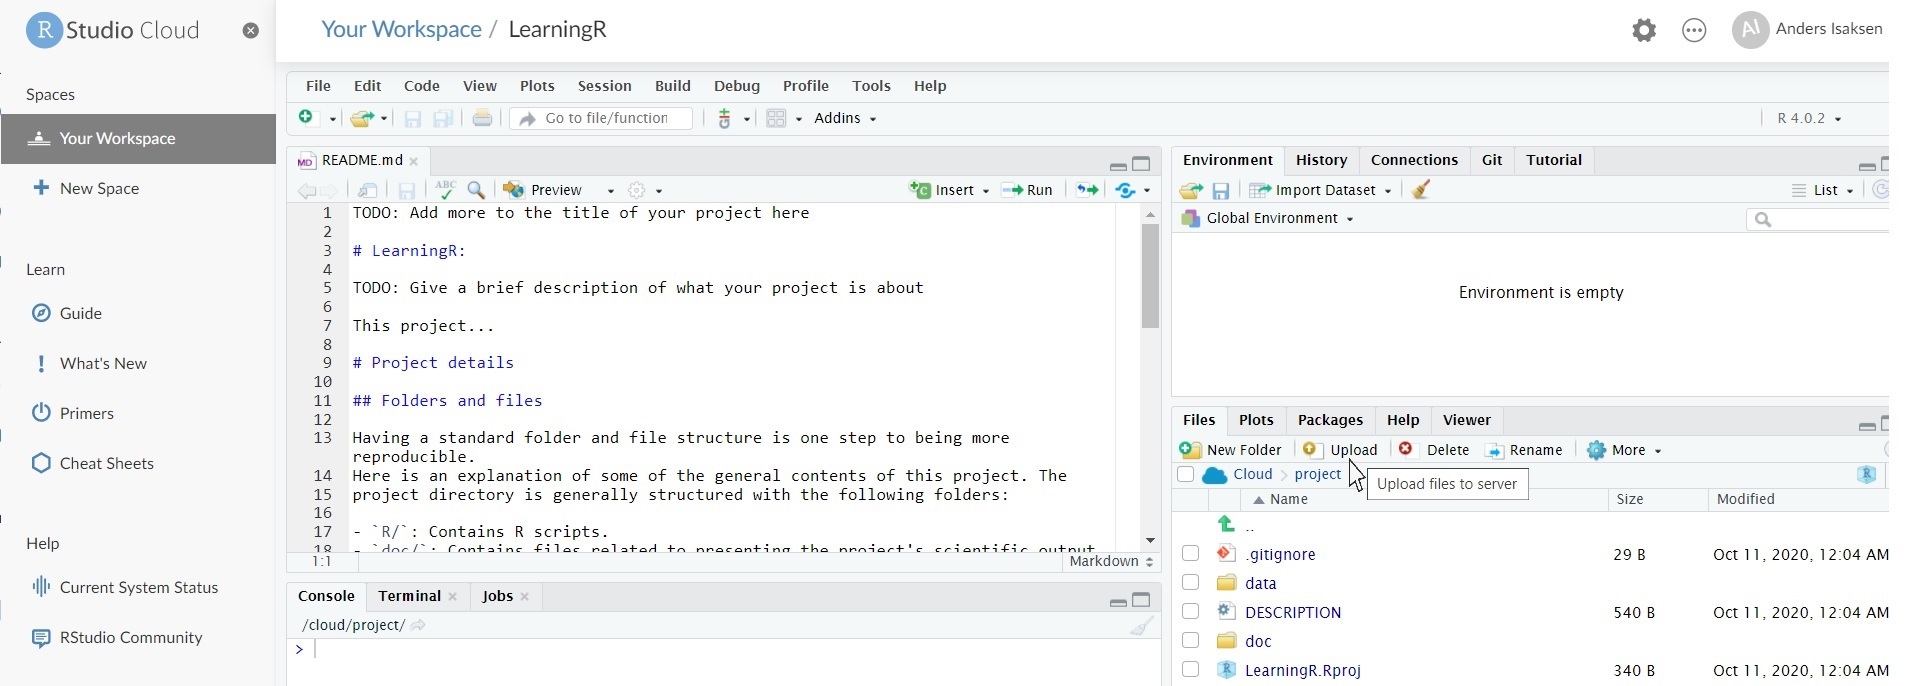
Uploading files to Posit Cloud projects: To make files available to Posit Cloud projects, we have to upload the files to it. Thankfully, this is very easy! In Posit Cloud, the “Files” tab of contains a new icon “Upload File”, which allows us to easily upload a file from our local computer (or several files within a zip file) to the Posit Cloud folder we’re currently in:
Uploading files, e.g. datasets to the cloud is easy. Another way of loading files to Posit Cloud is to synchronize the project with a remote repository, which will download all the tracked files to the Posit Cloud project.
R projects and folder structure in Posit Cloud: Since we start every R session inside of a project on Posit Cloud, RStudio in the cloud session doesn’t let us set up projects from inside of the R session. The prodigenr package can still be used through the console to set up the basic folder structure of our projects. However, the root folder of any project is fixed to
/cloud/project/, so when setting up our folder structure with prodigenr, we should have this in mind (e.g.prodigenr::setup_project("LearningR")creates the prodigenr folders inside/cloud/project/LearningRand avoids unnecessarily long file paths).Cloning a GitHub remote repository in Posit Cloud: Can be done when setting up a new project in the Posit Cloud workspace (“New Project from Git Repo”), or from the terminal, but it cannot be done through the RStudio main menu interface.